Maker studio decorating guide
How to Style Volcano Glass Workshop Wall Art in a Creative Space
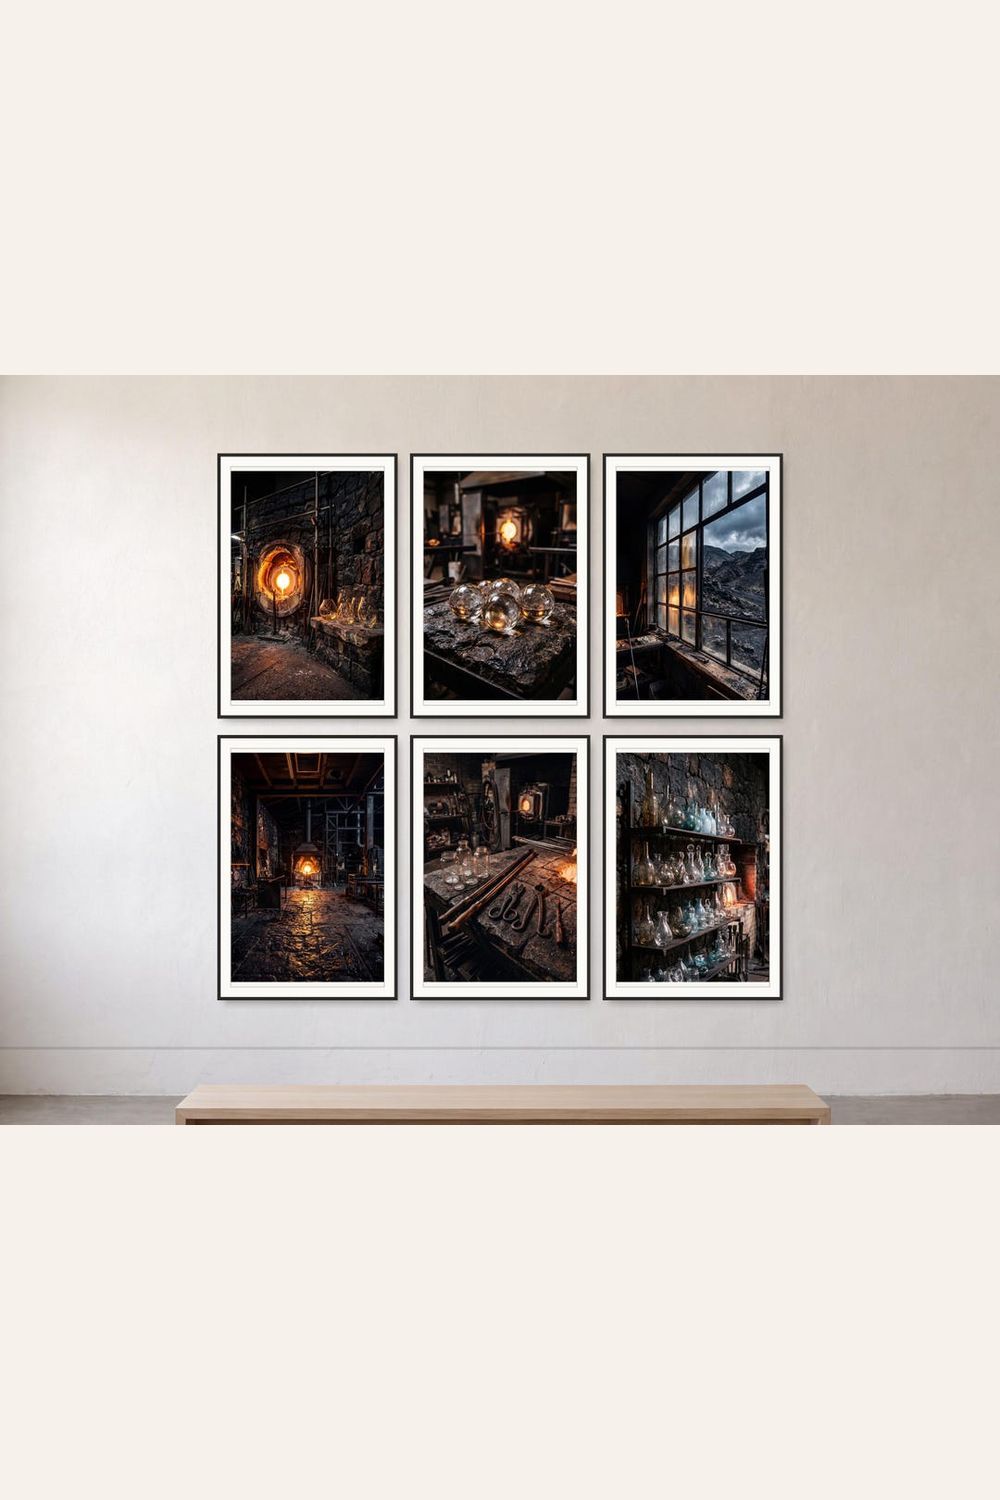
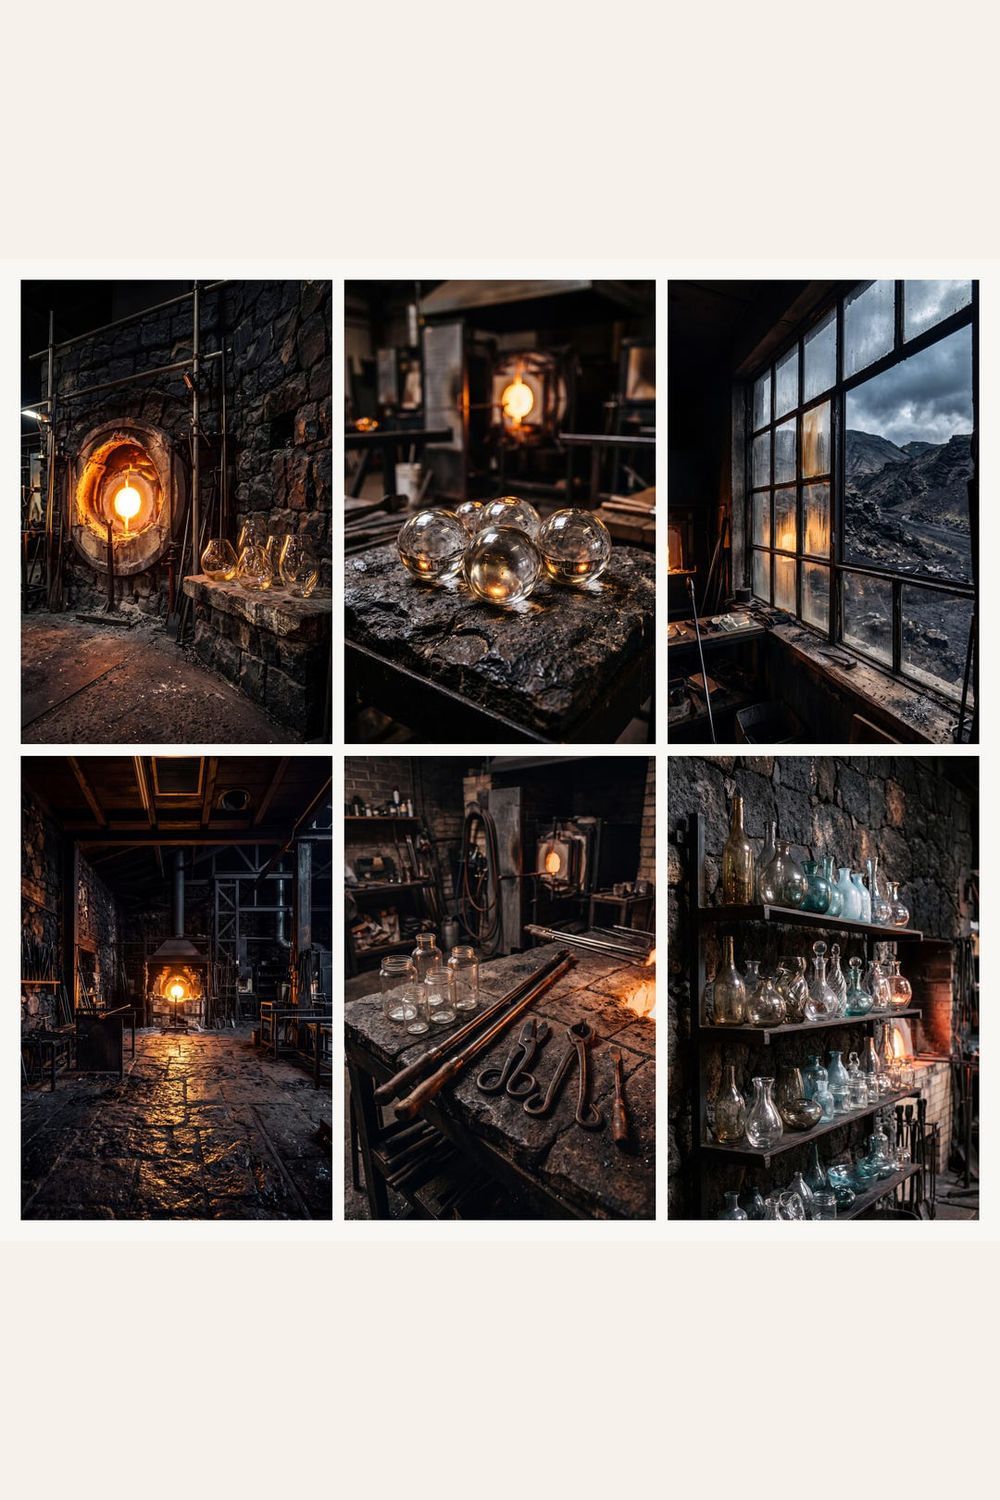
Volcanic glass imagery brings together raw geology and deliberate craft: heat, dark mineral surfaces, reflected light, tools, and the human urge to transform material. A coordinated six-print set can give a maker studio or home office a strong point of view without relying on generic motivational signs. The best result comes from treating the wall as part gallery, part visual process map.
Choose a wall that supports the work happening nearby
In a working studio, place the gallery where it can be seen without competing with pegboards, shelves, or safety information. A clear wall above a low storage cabinet gives the collection breathing room while tools remain accessible elsewhere. In a home office, the set can sit behind a desk as a textured, craft-focused background. In a geology classroom or science reading corner, position it near specimens or books—but not so close that the wall becomes crowded.
Start with six paper templates at the intended finished size. Tape them to the wall and inspect the arrangement from the doorway, the desk or workbench, and the farthest normal viewing point. Workshop scenes contain small highlights and process details; this test shows whether the chosen scale preserves them.
Pick a layout that tells the right story
The process grid
Arrange two rows of three with equal gaps. This orderly format suggests stages, samples, or a visual field guide and works well above a cabinet, desk, or specimen table. Keep the outside edges aligned so energetic imagery remains grounded.
The workbench sequence
Use one horizontal row when the wall is long, or split the set into two horizontal trios on either side of a central shelf. A linear sequence complements a workbench and encourages the eye to read the collection as a progression from raw material to finished craft.
The maker salon
For a creative studio, use a tighter salon arrangement: begin with the two strongest designs near eye level, then build outward. Preserve consistent gaps and an imaginary outer rectangle so the composition feels experimental but intentional.
Balance charcoal, ember, and glass tones
Dark mineral art becomes easier to live with when the room repeats only a few of its colors. Charcoal shelving or black hardware can echo obsidian surfaces; rust, amber, or terracotta accents can pick up heat and ember tones; pale wood and warm white walls keep the overall space from becoming heavy. Avoid matching every color in every print.
In a compact room, let the six prints be the darkest feature and keep large furniture surfaces lighter. In a larger workshop, deeper wall color can work if frames or mats establish a clear boundary around each image. One small glass, stone, or ceramic object nearby is enough to connect the wall to the material theme.
Frame for a workshop—not a showroom
Matte black frames reinforce a modern tool-and-material mood. Dark walnut adds warmth and suits leather, wood, and brass equipment. Slim natural-wood frames soften the industrial edge for a home office or craft room. Repeat one frame finish across all six designs; variation is already supplied by the scenes.
Use glazing with low reflection when possible, especially opposite windows or strong task lights. If standard glass is the practical choice, test one frame in the room before committing to six. A broad off-white or warm-gray mat can separate dark artwork from a dark wall, while an unmatted presentation feels more immediate on a pale wall.
Plan scale around sightlines and safety
Keep the gallery outside active tool swing, heat, moisture, dust, and chemical splash zones. Above a desk or closed cabinet, center the group on the furniture rather than the entire wall. Near a workbench, leave enough clearance that frames cannot be struck while materials are being moved. For public studios and classrooms, secure frames appropriately for the wall type.
Small prints suit a compact reading corner where viewers stand close. Larger formats are more useful across a studio or classroom. The active Etsy listing provides multiple print-ready sizes; confirm current file details and select a supplied aspect ratio before buying frames. Never stretch an image to force it into a mismatched opening.
Proof the print before building the full gallery
Print one design first on inexpensive paper at the planned size. Check whether shadow detail remains visible, bright glass highlights retain texture, and the darkest areas do not collapse into a single block. Then compare matte art paper with a lightly textured stock. Matte paper usually controls workshop glare; subtle texture can support the tactile craft theme without overpowering fine details.
For ratio-aware sizing and printer checks, use the printable wall art printing guide. After purchase, the digital download help page covers file access. For a related natural-science direction, compare the mineral and crystal geology wall art guide; for broader spacing ideas, visit the gallery wall planning guide.
View the Volcano Glass Workshop Set on Etsy
Digital download only. No physical prints, frames, volcanic glass, tools, furniture, or room props are shipped. The linked Etsy listing is the source of truth for included files, sizes, price, and current availability.
Volcano glass workshop wall art FAQ
Is this a physical gallery wall set?
No. The featured Etsy set is delivered as digital files. You arrange printing and framing; nothing physical is shipped.
Does this theme only work in a professional workshop?
No. It can suit a home office, craft room, geology classroom, game room, maker-space entry, or science-inspired reading corner. Adjust frame finish and layout to the room rather than adding many themed objects.
How do I keep six dark prints from making a small room feel closed in?
Use a pale wall or wide light mats, maintain consistent space between frames, and keep nearby furniture and textiles comparatively quiet. The group should have visible wall space around its outside edge.
How do I avoid cropping the designs?
Match a supplied print size to the frame or mat opening and inspect the printer's crop preview. Do not stretch the file or automatically fill a mismatched page.